Showing posts with label spicy. Show all posts

Monday, August 8, 2011

Quick n' Easy: Fish Tacos

Everybody loves tacos. Especially this girl right here. Give me a corn tortilla, some guacamole, beans, some sauteed veggies, and I'm a happy camper. I have a feeling that I will be making a lot of tacos this coming school year, seeing as they are so quick, easy, inexpensive, and almost always delicious! It was a Julie-makes-dinner night in my household about a week ago, so I chose to whip up some fish tacos. Anyone who really knows me knows that I actually hate fish (I know, what kind of Seattle-ite am I? I don't drink coffee either...). BUT when it comes to tacos, I feel like you can literally make anything taste good once its wrapped in a fresh corn tortilla with an obscene amount of guacamole smothered all over it. I'm also trying to eat healthier these days, and fish is pretty much on the top of everyone's "healthy foods" lists, so I'll give it a shot now and then.


Fish Tacos (note that many ingredients listed are interchangeable. Basically everything tastes good in a taco so feel free to add things like corn, fresh cilantro, salsa, etc.)

Ingredients: (Serves 2 people)
- 1/2 lb fresh or frozen cod
- a squeeze or two of lemon juice
- a dash or two of olive oil
- a couple shakes of chili powder
- a little cumin
- pinch of salt
- pinch of pepper
- corn tortillas (can be hard or soft shelled. I like soft.)
- Black or pinto beans
- Guacamole (avocado, tomato, hot sauce, cilantro, red onion, salt/pepper)
- Fresh extra ingredients of choice (tomato, corn, chopped lettuce, etc)

Step 1: Thaw the fish, if its frozen. Arrange the fish in a baking dish. In a small bowl, whisk together the lemon juice, olive oil, chili powder, cumin, salt, and pepper, and then pour the mixture over the fishies. Cover it and let it sit in the fridge for about 15 minutes.


Step 2: Remove the swimming fishies from the fridge and drain the liquid (carefully). Get a medium sized pan nice and hot on the stove with some olive oil in it. Cook the fish. Fish cooks really quickly- you can tell that its done when it gets flaky and white (rather than luminescent or pink).
The kitty cat wants some.

Step 3: Heat the tortillas. This can be done in a number of ways: microwave, oven, whatever. I chose to heat them in a pan over the stove in some oil. I like the slight crisp texture this gives the tortillas.

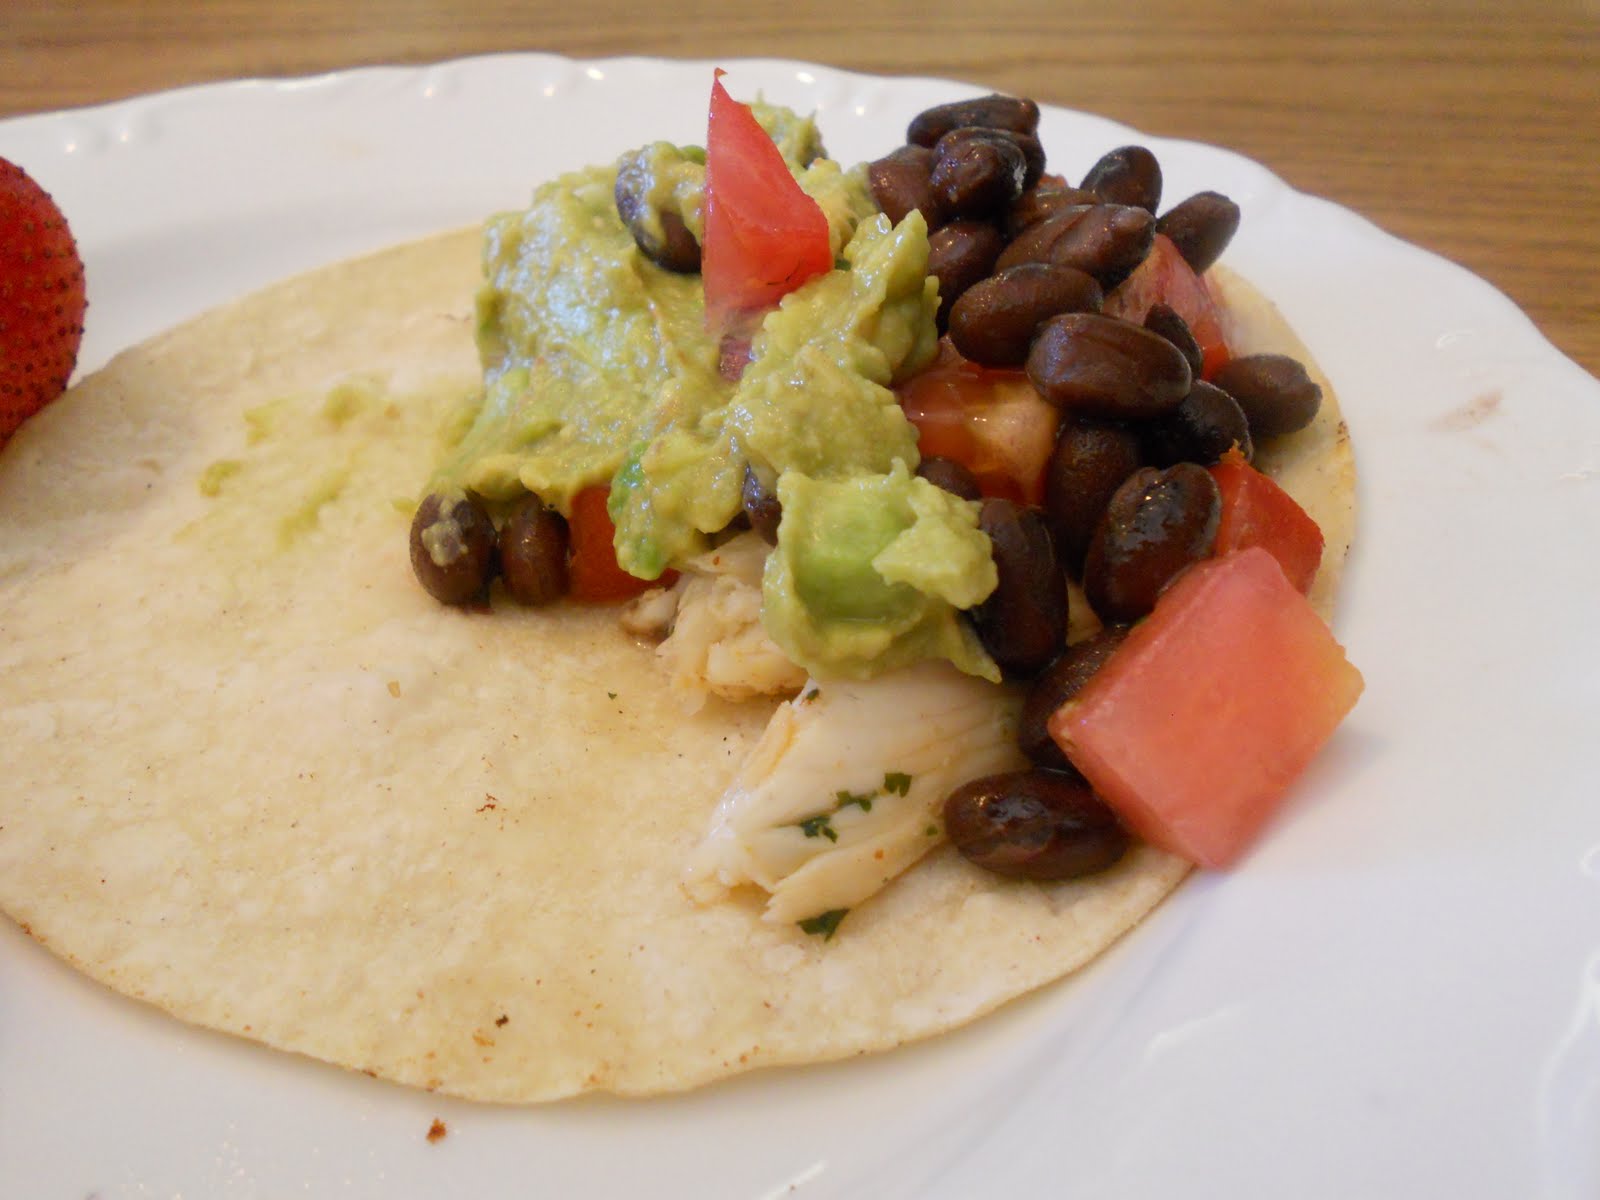
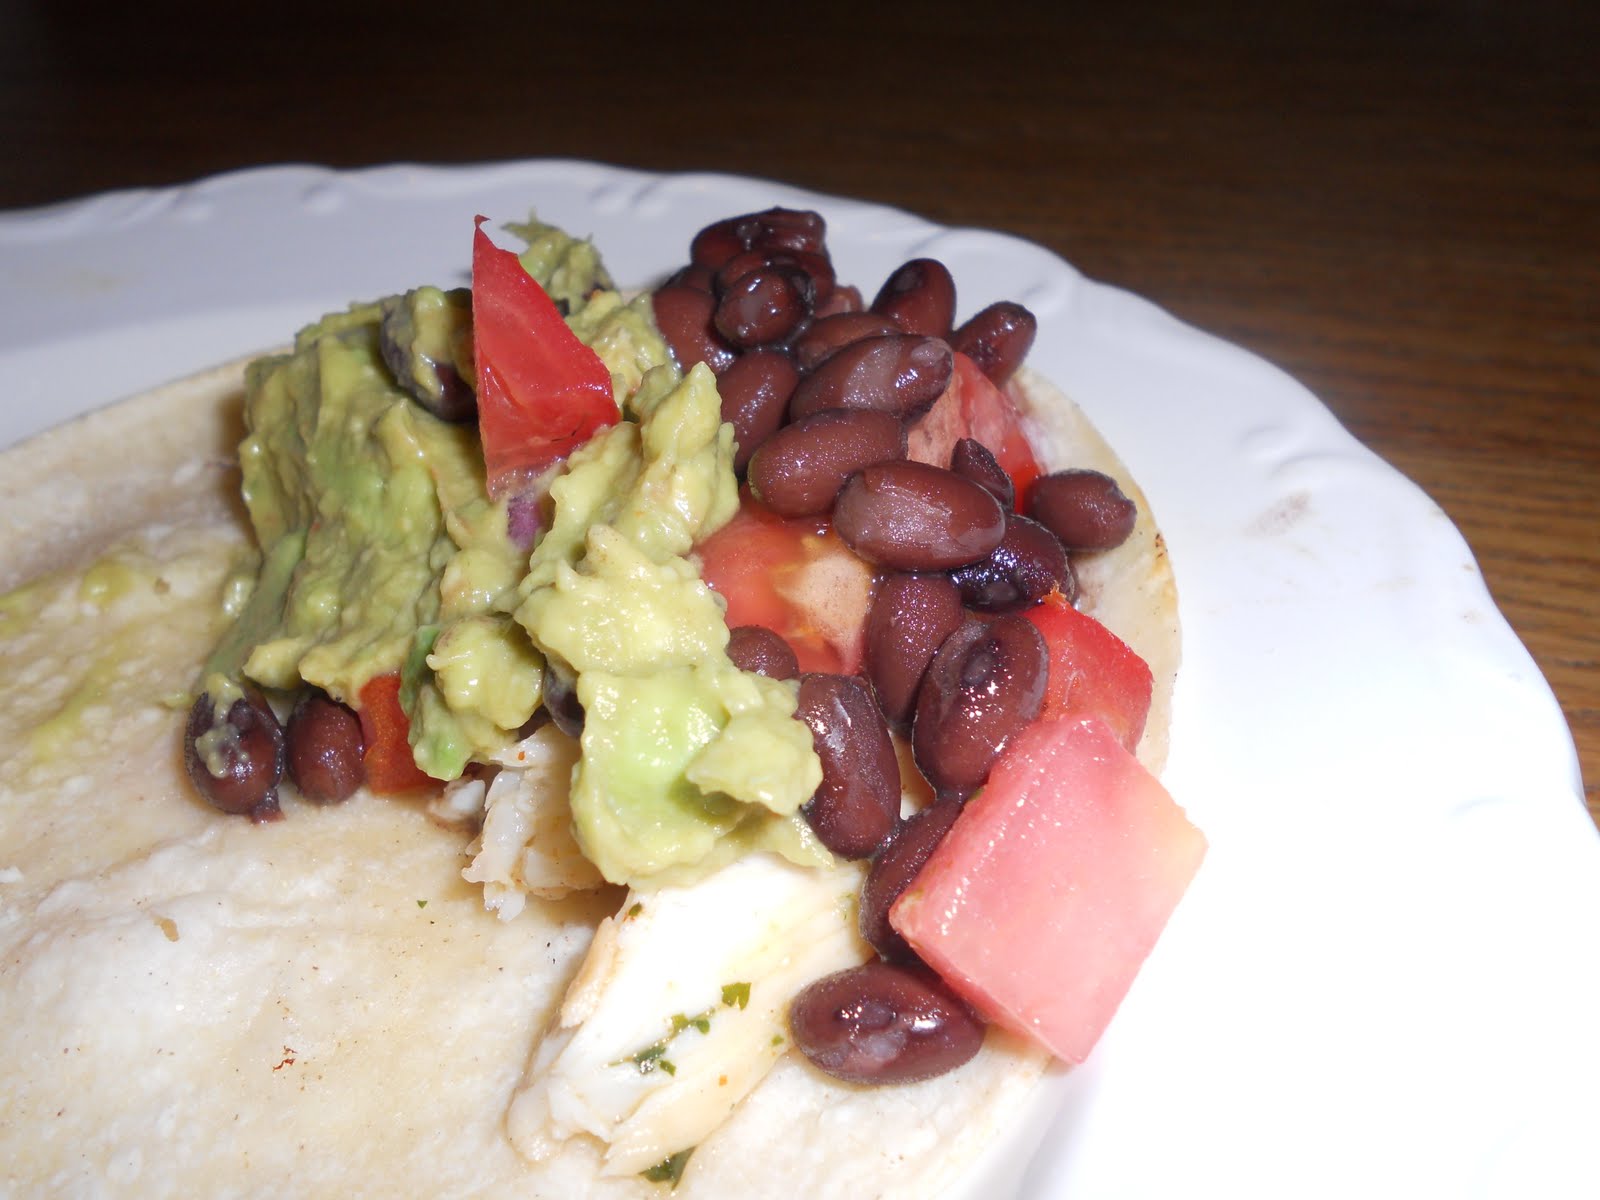
Step 4: Layer the tacos! I did it like this: tortilla, fish, guacamole, beans, tomato. Simple. Quick. Delish.


Thursday, July 28, 2011

Recipe: Hellfire Curry Chicken


Holy smokes, people. I'll warn you right now by letting you know that this recipe is NOT for the faint of heart... or stomach. You should also know that I, myself, am among said faint of heart- this one was pretty much past my spice limit. *hangs my head in shame*. My spice-tolerant mother seemed to certainly enjoy it enough, claiming that the spiciness was right at the top of her tolerance level. Not to say I didn't enjoy it- its just that I was at that stuff-your-face hunger point and the heat was making this more difficult than usual. SO, just know that this recipe is fab if you wanna spice up your life, or your tongue. For those of us who like our Indian food to be a little more American-palette-friendly, I've included modified ingredients for certain components of the recipe. You're welcome.

Ingredients: (Serves 4)
-3 chicken breasts cut up into chunks
-1 red pepper & 1 green pepper cut into slivers
-1/2 a white onion
-14 oz coconut milk*
-6 oz Panang curry paste**
-Spoonful of peanut butter
-cayenne pepper***
-2 tbsp garlic (about 3 cloves)
-2 tbsp chicken stock
-white rice

* I would suggest having some extra on hand; when you taste the curry mixture, add some more in if it's still too spicy
**3-4 oz if less spice is wanted. This type of curry might be harder to find in your average grocery store- I found it at my Central Market in the Asian/International food section. If you can't find this, it's no problem to go ahead and try it with other types of curry paste.
*** Leave out if wanted less spicy

Step 1: Start cooking the rice- or be cool like me and use handy dandy 5 Min rice and wait till the end to cook it!


Step 2: Season the cubed chicken breast with some salt, pepper, and cayenne pepper. Cook in a large (and I mean large... you'll see why) skillet.


Step 3: Move the cooked chicken out of the pan and transfer it somewhere. It doesn't have to be warmed as it will be added into a hot bubbling brew in just a bit.
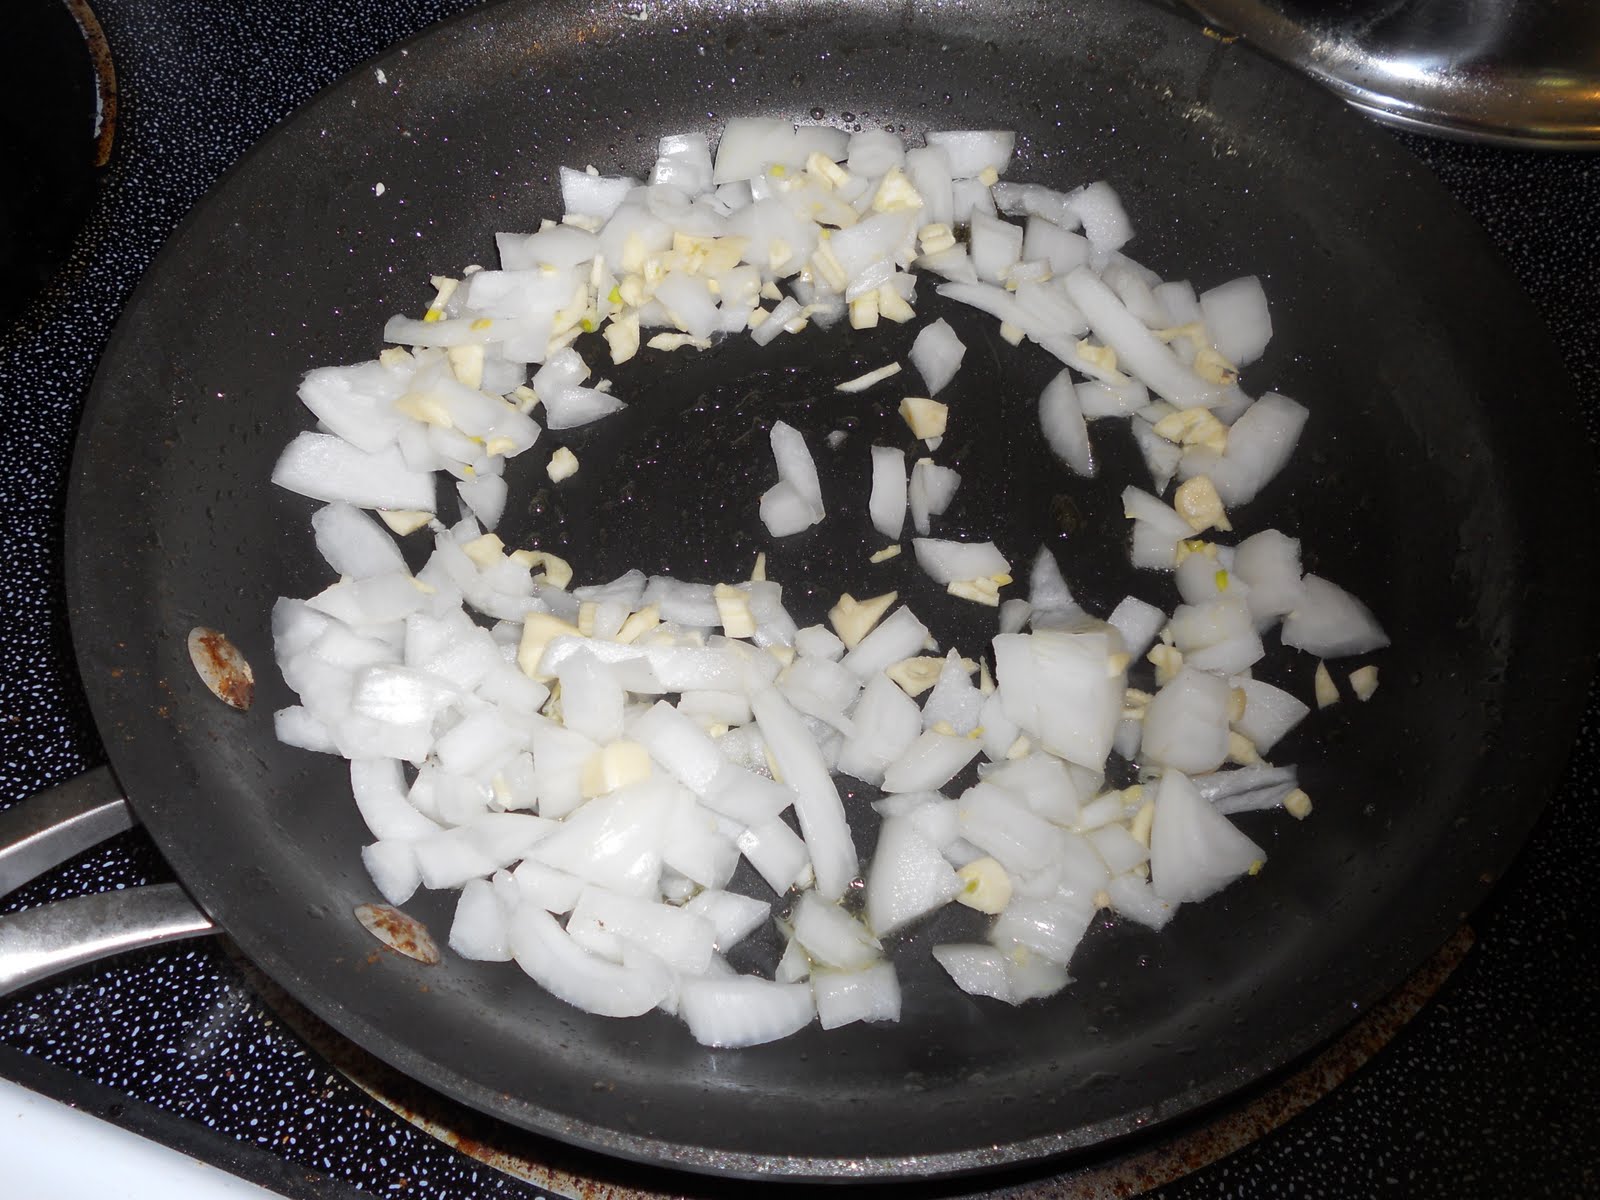
Step 4: In the same pan, saute the garlic and onion for about a minute. This is when the kitchen really starts smelling delish.

Step 5: Add the curry paste into the pan. This may take a while for the paste to boil down to a liquid, but it helps to stir it consistently for a while.

Step 6: Add half the coconut milk, stir in the peanut butter, put in some cayenne pepper, add in the chicken stock, and then the rest of the coconut milk. This separation of adding the coconut milk is vital for helping even out the amount of spice. This makes it so that you won't take one bite of bland blandiness, then a next bite of pure hellfire.

Step 7: Simmer the bubbly goodness for about a minute. Fiery bubbles of red might pop up in the brew: this is when I started shaking in my boots. But if you went with the spicy version, you asked for it.

Step 8: Fold in the chicken cubes carefully.


This is what Indian food is all about
Step 9: Plate the rice and spoon the curry mixture over the rice for a neat and enticing presentation. OR just scoop it all on lunch-lady style if you couldn't care less about plate presentation. For the sake of pictures, I tried to be neat and tidy. I should mention that I was planning on adding some chickpeas into the curry mix, but after buying the dried, I realized that they should soak overnight so that plan failed. However, if you have access to canned chickpeas or chickpeas that have been soaked, that would be mucho delicioso.
Looks innocent right? THINK AGAIN!
 My stomach was on fire. My brain was on fire. My pinky toe was on fire. BUT it tasted good. So good that I didn't want to stop eating it despite certain body parts protesting against me. I will for sure try this again, just less spicy next time.
Keep the milk at arms reach. Dad is suffering.

Wednesday, July 20, 2011

Spicy Southwestern Burger!

Yes my friends, I bring you yet another recipe! This is probably my favorite thing I have ever made for myself and that is due to the combination of great taste and the fact that it is something beyond the difficulty level of toast or spaghetti. I bring you the spicy southwestern burger: a delicious blend of of juicy beef, melted cheese, spicy mayo, and sweet caramelized onions. Sound good? Well, thats because it is. Try it for dinner tonight!


Spicy Southwestern Burger (serves two people)
- GF Bread or Hamburger Bun (I used Udi's Whole Grain Bread)
- 2 lbs 80/20 Ground Beef (yes, that means a pounder hamburger. Man up.)
- some salt/some pepper
- Tabasco Sauce
- Butter
- 1/2 Red Onion
- 2 tbsp Brown Sugar
- 1/4 cup real mayonnaise (NOT Miracle Whip)
- a couple slices of any sort of cheese (I used sharp cheddar- if you do this get the real kind that is white not the processed yellow kind)
- couple leafs of lettuce
- couple slices of tomato

Step 1: Put the ground beef, salt, pepper, and a few dashes of Tabasco sauce in a bowl. Mix it up- don't be afraid to get your hands messy. Just be sure to wash up afterwards so that the raw meat traces doesn't get all over everything!


Step 2: Set aside the meat, and lets talk onions: start by slicing your red onion into somewhat thin slices. Set a medium sized pan over medium-high heat and throw in some butter. Dump in the onion along with the brown sugar and stir it around. Once the butter is melted and the brown sugar is all blended it, let this pan sit over low heat for the remainder of the time you are cooking. This will let the onions get to their maximum caramelization and they will be extra sweet and tasty.


 Step 3: Make some spicy mayo: mix the mayonnaise with several shakes of hot sauce. Taste it to be sure it has the right amount of spice for you. Thats it. Simple but tasty.


Step 4: Now back to the meat- form two big round patties (or in my case, as I had a little over 2 lbs of meat, 2 big patties and 2 little patties). This is made easiest when you hold a meat ball in your palm and just pat it down right in your hand and shape it in a pretty circle. Place the patties onto your grill pan or skillet over medium to medium-low heat (make sure the surface has been buttered or sprayed). Allow each side to cook about 5 minutes or until each side is slightly browned to your liking. DO NOT smush your spatula down on the meat: that just gets rid of all the juices and serves no other real purpose.


Step 5: Toast your bun/bread. You can do this over the stove, in a broiler, or in a toaster (my choice method as it is quick and easy). Spread some mayo on each slice of bread- don't be stingy!


Step 6: Now comes the fun part: stacking this monster... Lay out your bread, put the burger on the bread, lay the cheese on the burger, layer on lots on onion (believe me, you want it), put on the tomato, some lettuce, and the put on the top. Whew! My dad and I decided to make these with the addition of guacamole and roasted chilis next time! I cannot wait.

Presto! That there is one tasty burger if I've ever seen one in my life.