Showing posts with label recipe. Show all posts

Monday, August 8, 2011

Quick n' Easy: Fish Tacos

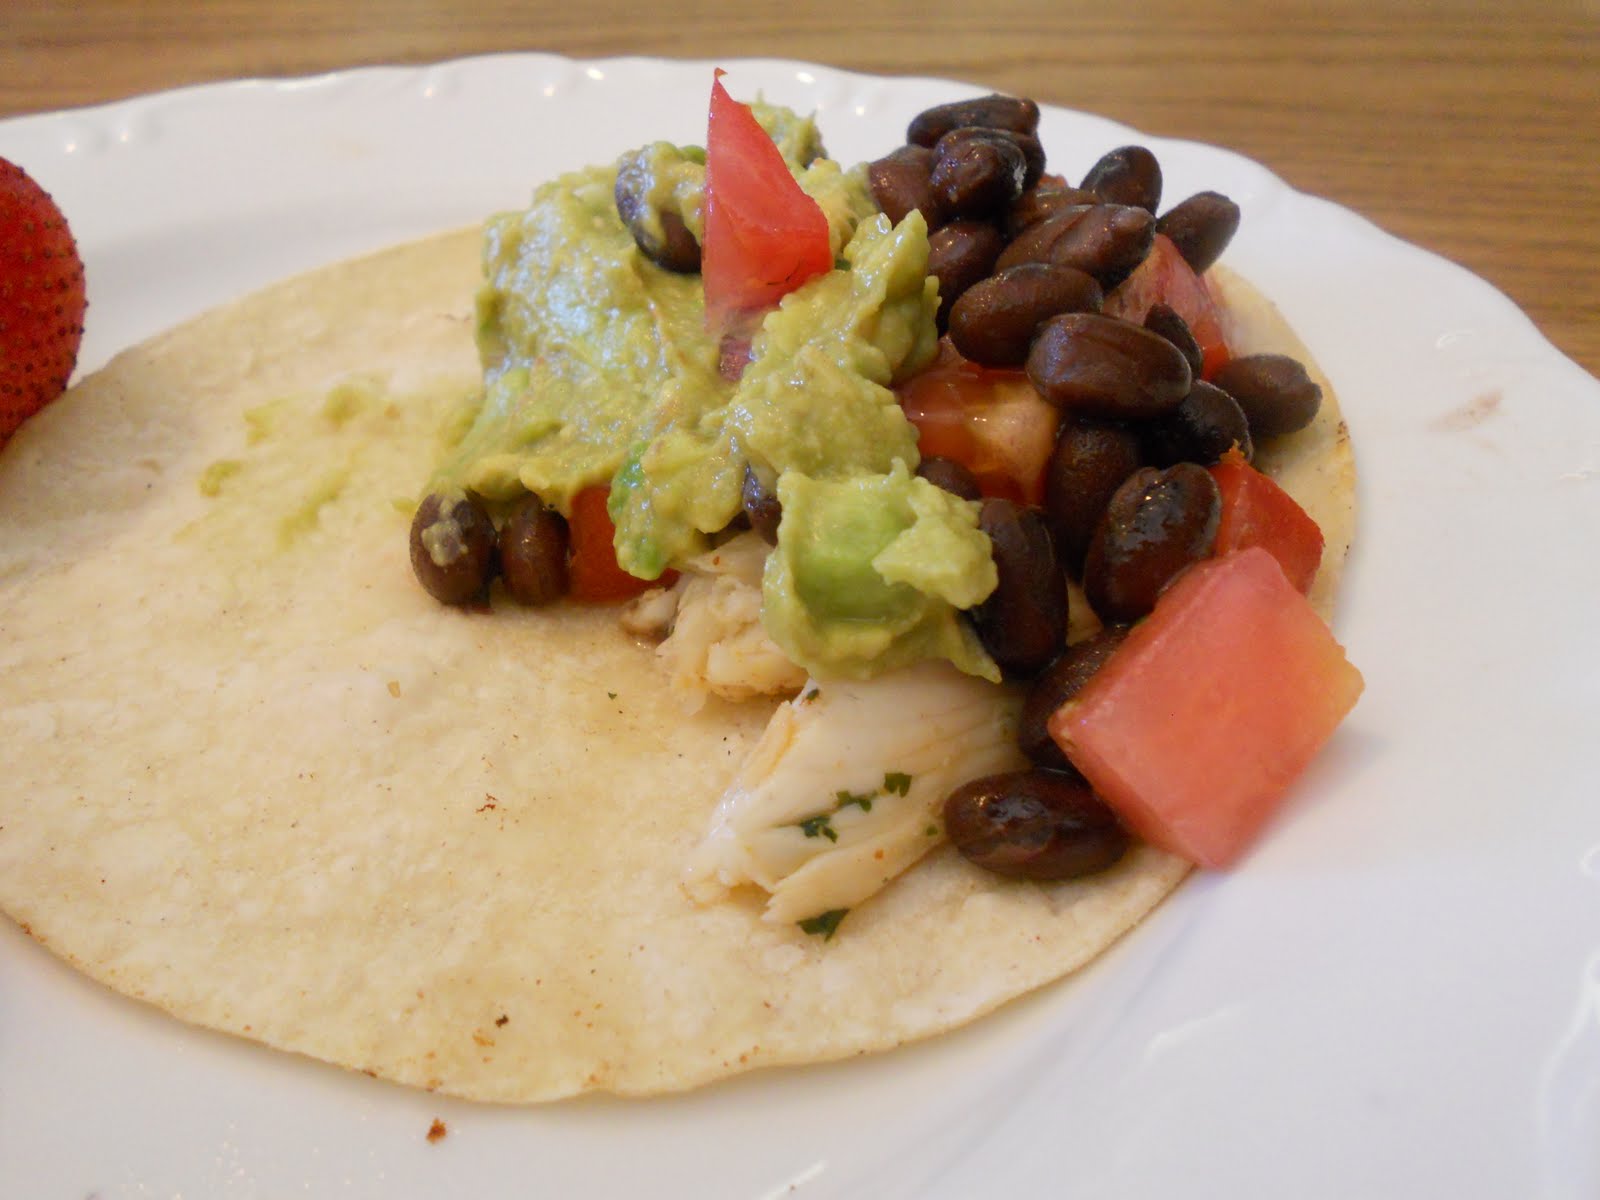
Everybody loves tacos. Especially this girl right here. Give me a corn tortilla, some guacamole, beans, some sauteed veggies, and I'm a happy camper. I have a feeling that I will be making a lot of tacos this coming school year, seeing as they are so quick, easy, inexpensive, and almost always delicious! It was a Julie-makes-dinner night in my household about a week ago, so I chose to whip up some fish tacos. Anyone who really knows me knows that I actually hate fish (I know, what kind of Seattle-ite am I? I don't drink coffee either...). BUT when it comes to tacos, I feel like you can literally make anything taste good once its wrapped in a fresh corn tortilla with an obscene amount of guacamole smothered all over it. I'm also trying to eat healthier these days, and fish is pretty much on the top of everyone's "healthy foods" lists, so I'll give it a shot now and then.


Fish Tacos (note that many ingredients listed are interchangeable. Basically everything tastes good in a taco so feel free to add things like corn, fresh cilantro, salsa, etc.)

Ingredients: (Serves 2 people)
- 1/2 lb fresh or frozen cod
- a squeeze or two of lemon juice
- a dash or two of olive oil
- a couple shakes of chili powder
- a little cumin
- pinch of salt
- pinch of pepper
- corn tortillas (can be hard or soft shelled. I like soft.)
- Black or pinto beans
- Guacamole (avocado, tomato, hot sauce, cilantro, red onion, salt/pepper)
- Fresh extra ingredients of choice (tomato, corn, chopped lettuce, etc)

Step 1: Thaw the fish, if its frozen. Arrange the fish in a baking dish. In a small bowl, whisk together the lemon juice, olive oil, chili powder, cumin, salt, and pepper, and then pour the mixture over the fishies. Cover it and let it sit in the fridge for about 15 minutes.


Step 2: Remove the swimming fishies from the fridge and drain the liquid (carefully). Get a medium sized pan nice and hot on the stove with some olive oil in it. Cook the fish. Fish cooks really quickly- you can tell that its done when it gets flaky and white (rather than luminescent or pink).
The kitty cat wants some.

Step 3: Heat the tortillas. This can be done in a number of ways: microwave, oven, whatever. I chose to heat them in a pan over the stove in some oil. I like the slight crisp texture this gives the tortillas.

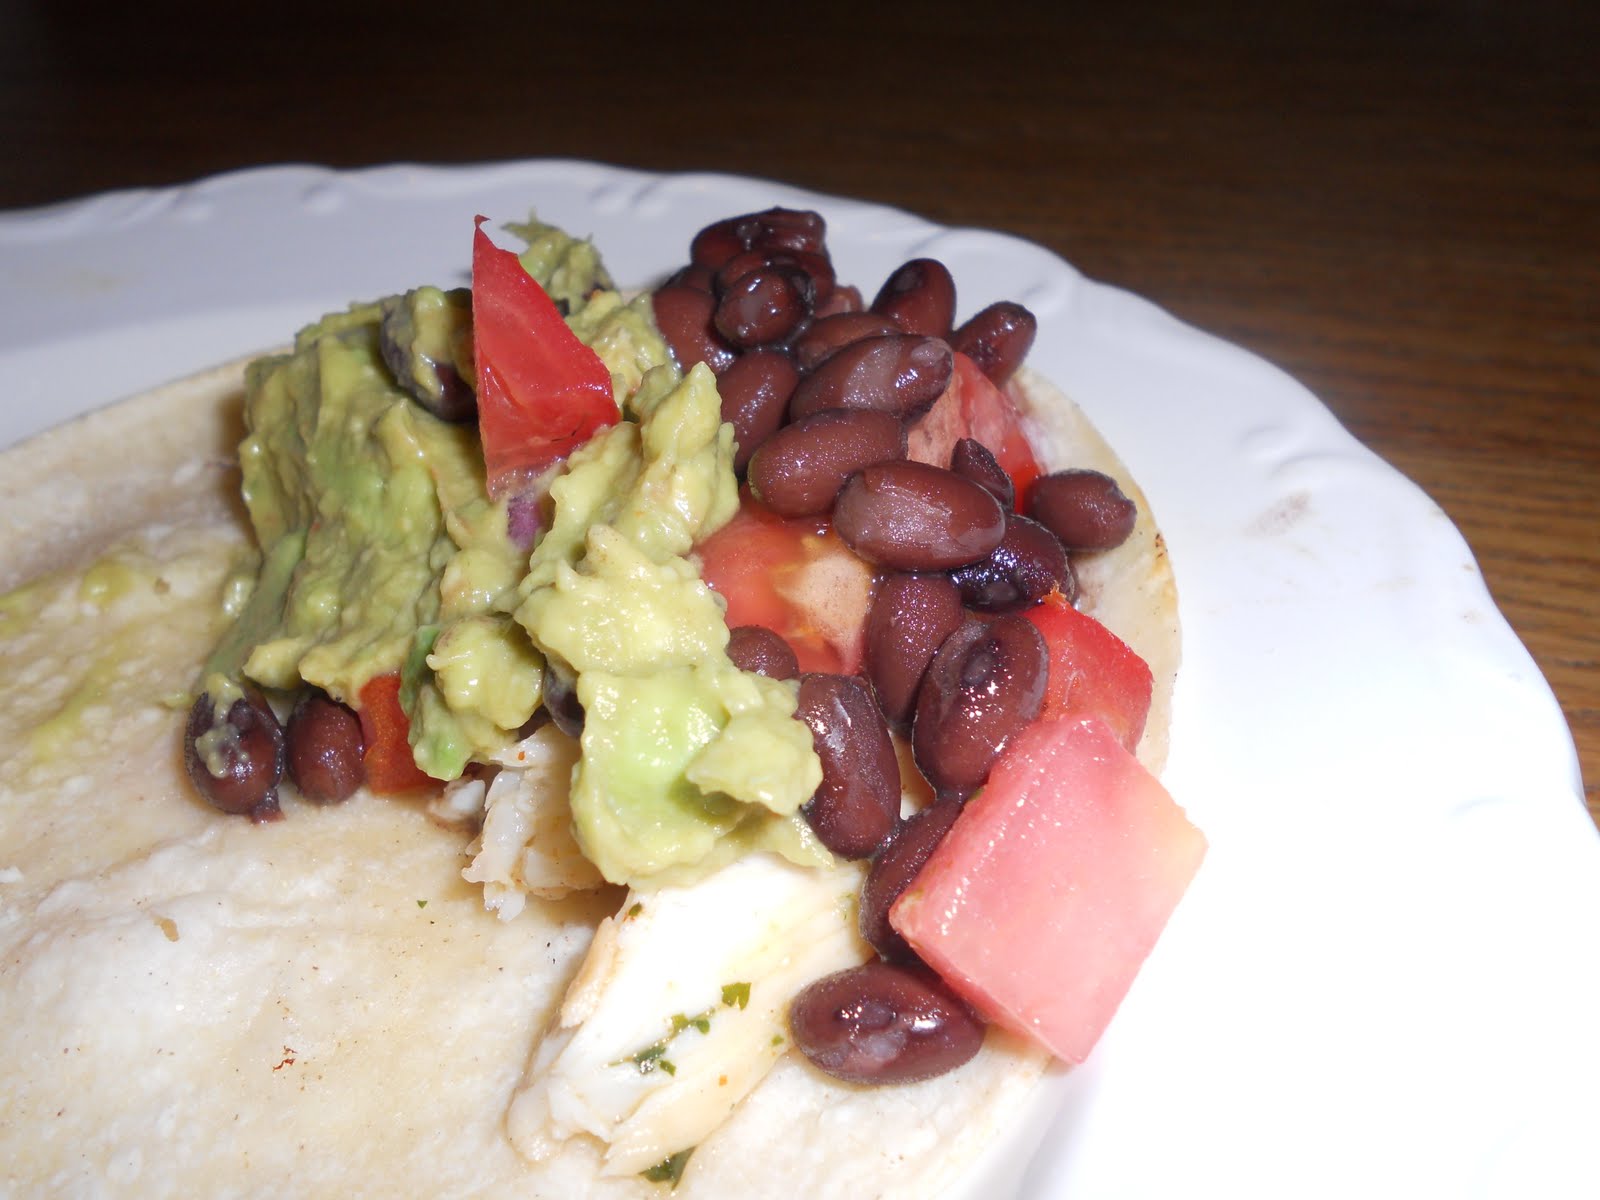
Step 4: Layer the tacos! I did it like this: tortilla, fish, guacamole, beans, tomato. Simple. Quick. Delish.


Wednesday, July 20, 2011

Spicy Southwestern Burger!

Yes my friends, I bring you yet another recipe! This is probably my favorite thing I have ever made for myself and that is due to the combination of great taste and the fact that it is something beyond the difficulty level of toast or spaghetti. I bring you the spicy southwestern burger: a delicious blend of of juicy beef, melted cheese, spicy mayo, and sweet caramelized onions. Sound good? Well, thats because it is. Try it for dinner tonight!


Spicy Southwestern Burger (serves two people)
- GF Bread or Hamburger Bun (I used Udi's Whole Grain Bread)
- 2 lbs 80/20 Ground Beef (yes, that means a pounder hamburger. Man up.)
- some salt/some pepper
- Tabasco Sauce
- Butter
- 1/2 Red Onion
- 2 tbsp Brown Sugar
- 1/4 cup real mayonnaise (NOT Miracle Whip)
- a couple slices of any sort of cheese (I used sharp cheddar- if you do this get the real kind that is white not the processed yellow kind)
- couple leafs of lettuce
- couple slices of tomato

Step 1: Put the ground beef, salt, pepper, and a few dashes of Tabasco sauce in a bowl. Mix it up- don't be afraid to get your hands messy. Just be sure to wash up afterwards so that the raw meat traces doesn't get all over everything!


Step 2: Set aside the meat, and lets talk onions: start by slicing your red onion into somewhat thin slices. Set a medium sized pan over medium-high heat and throw in some butter. Dump in the onion along with the brown sugar and stir it around. Once the butter is melted and the brown sugar is all blended it, let this pan sit over low heat for the remainder of the time you are cooking. This will let the onions get to their maximum caramelization and they will be extra sweet and tasty.


 Step 3: Make some spicy mayo: mix the mayonnaise with several shakes of hot sauce. Taste it to be sure it has the right amount of spice for you. Thats it. Simple but tasty.


Step 4: Now back to the meat- form two big round patties (or in my case, as I had a little over 2 lbs of meat, 2 big patties and 2 little patties). This is made easiest when you hold a meat ball in your palm and just pat it down right in your hand and shape it in a pretty circle. Place the patties onto your grill pan or skillet over medium to medium-low heat (make sure the surface has been buttered or sprayed). Allow each side to cook about 5 minutes or until each side is slightly browned to your liking. DO NOT smush your spatula down on the meat: that just gets rid of all the juices and serves no other real purpose.


Step 5: Toast your bun/bread. You can do this over the stove, in a broiler, or in a toaster (my choice method as it is quick and easy). Spread some mayo on each slice of bread- don't be stingy!


Step 6: Now comes the fun part: stacking this monster... Lay out your bread, put the burger on the bread, lay the cheese on the burger, layer on lots on onion (believe me, you want it), put on the tomato, some lettuce, and the put on the top. Whew! My dad and I decided to make these with the addition of guacamole and roasted chilis next time! I cannot wait.

Presto! That there is one tasty burger if I've ever seen one in my life. 


Original Recipe: Spicy Chicken Tenders!

I found myself being in a very creative mood tonight... so creative in fact that I made up my own recipe! Well.... kind of. Basically I Googled a simple chicken tender recipe and I translated it into a celiac friendly language ("bread crumbs"=leftover corn bread, "white flour"=GF flour, etc...). Oh, and I also made it spiceayyy. (Saying that part in my head sounds much cooler than it looks written out, eh?) I made this deliciousness for myself and my dad who had just come back from a jog, so he pretty much devoured it, calling my creation "very good!". Success! 

Ingredients: (serves: two people or one voracious lion)

-3 boneless and skinless chicken thighs 
-A palmful of GF Flour (Bob's Red Mill is my flour of choice)
-1 egg 
-Anything related to bread crumbs (can be GF breadcrumbs, I used leftover GF corn bread. Whatever floats your boat here, people). About two handfuls of this stuff.
-Red pepper flakes
-Salt/Pepper
-Hot sauce
-Frozen peas (optional)
-Delicious dill pickle (also optional)

Step 1:
Preheat oven to 350 degrees. Defrost the chicken (running it under water helps get the frost off), and start by pounding out your chicken. Please just ignore the fact that I used a beater as a meat pounder. 

Step 2:
Cut the chicken into (ideally) strips. I say "ideally" because real chicken thighs are not physically shaped in a conducive form for cutting into strips. So it is likely that you will end up with a pile of hodgepodge chicken slices. Thats okay. 
I tried.
Step 3:
Assemble your line of flour, egg mixture, and bread crumbs. I did this one by one: the flour needs to be mixed with some pepper flakes- just a couple shakes of that. Mix one egg with a little bit of water, some salt and pepper, and a couple splashes of hot sauce. Crumble up whatever bread you are using (or if you are using ready to use breadcrumbs then, well, yeah..). Now lay all of this out in a line in this order: raw chicken --> flour --> egg wash --> crumbs --> prepared cookie sheet with parchment paper. This is the order of your dipping/coating process. 
Chicken, flour, eggs, crumbs, pan
Step 4:
Using one hand, coat a chicken strip in the flour then dip it in the egg. With your other hand, coat the chicken in the crumbs. I advise you to use this hand-to-hand choreography to avoid excessive messiness all over your hands. Place the chicken strips equally spread on the pan.

Step 5:
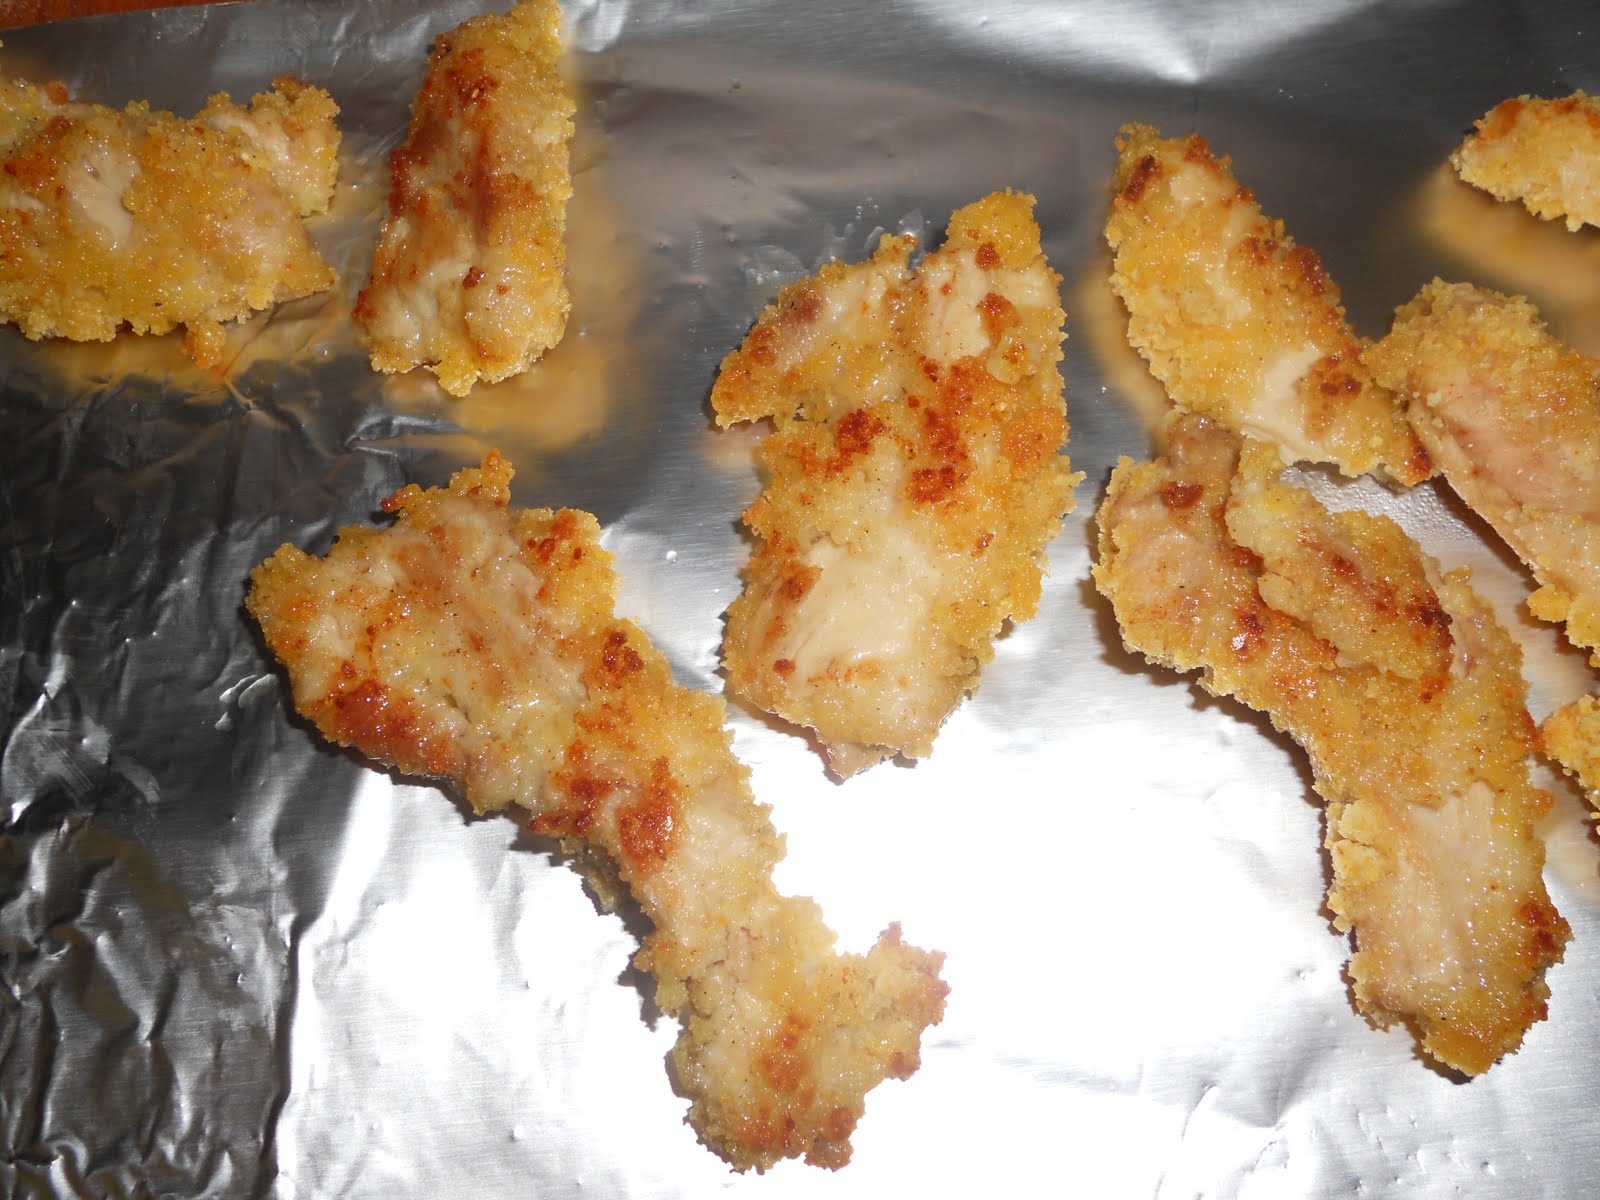
Place the tenders in your 350 degree oven for about 10 minutes. BE SURE TO CHECK THAT THE CHICKEN IS FULLY COOKED. It would be quite the meal spoiler if everyone ended up having salmonella at the end of it. Just sayin'. The tenders should look slightly brown and have a bit of a crisp on the outside. The inside should feel easy to cut and should look completely white. 
After the tenders have baked until cooked, remove them from the oven and flash fry them in olive oil to get that extra crisp you want. Just place each tender in a olive oiled pan for a couple minutes each side over medium heat until they are browned. Remove the tenders and place them on paper towels. (I ran out of said paper towels, so I used aluminum foil.... Idk?)


Step 6
Devour! I chose to pair this little nuggets of lovin' with some peas (seasoned with pepper flakes and salt/pepper) and a dill pickle! Straight out the elementary school cafeteria but of course, better. 

Get in my belly!

Sunday, June 12, 2011

The Perfect Omelette

              I have developed an obsession with omelettes. It's a serious problem, and I may never recover from this whirlwind love affair between me and eggs/vegetables/lotsofcheese. This obsession of mine began in school this past year: seeing as the dining hall offers very little safe options for Celiacs to eat, I found myself only going there for breakfast due to the availability of fresh omelettes that are made to order right there in front of you. Me and my roommate would wake up a whole 30 minutes earlier than necessary just to start our day off right with a hearty omelette, potatoes/hash browns (which, let's face it, are really just french fries in disguise as a breakfast food), and cranberry juice. Now that I'm back in Seattle, living at home with a full kitchen, I'm making an omelette every morning for myself and frankly, I could eat about 5 omelettes a day but that would make for a ridiculous amount of Costco trips for eggs.
          
          After having observed the techniques of the omelette-making-man at school everyday for about 9 months, I have learned the ways of making a foolproof omelette, and I'm going to share this sacred knowledge with you all.

Ingredients:
- 2+ eggs
- some veggies
- cheese of your choice
- olive oil

-->Start by cutting up some vegetables. I chose to use onion, spinach, and tomato for this particular omelette, but I've used everything from parsley to avocado to green chilis, so do as you please/use whatever is in the fridge.

--> Next, pour about 1/2 tbsp of olive oil into a small-ish pan and give the oil a whirl around to coat the bottom. I've discovered that non-stick spray and butter don't really work as well as olive oil in terms of keeping the omelette from sticking to the pan, so by all means, use olive oil.
--> Crack 2 eggs in the pan (use 3 if you're ravenous), and whip them around until it's all yellow-- this is going to make for a fluffier omelette and give it a uniform yellow color (not that that really matters in the scope of things, but I'm weird like that).
--> Turn on the heat to high/medium and drop in your chopped veggies. There is no rhyme or reason to this, but don't hold back from making a smiley face or heart shape with the vegetables (an idea that I unfortunately, had no thought of when I was making my omelette =[ ).

 --> Let this sit a little while over heat. This would be the time to start cutting up any fruit or toast you want with this omelette. Because let's not fool ourselves: we'll still be hungry after the omelette.


 --> Once the edges of the omelette start to form, like shown about, lift up the edges gently with your spatula and tilt the pan, letting the liquid-y eggs on top drip over the edges, going underneath the omelette.
--> Now is the intimidating part: flipping the omelette. But, if you have properly oiled the pan and done the liquid-over-the-edge part, you'll make it through just fine. Simply scoot the spatula under the omelette and loosen the omelette from the bottom and sides of the pan being sure that it is completely separated from it. Give the pan a slight forward/up motion at the same time as using the spatula to flip the omelette like you would a pancake. Good luck to you.


--> Add some shredded cheese on one side of the flipped omelette to let in begin it's melting stage. Wait about 2 minutes until the other side can cook. Fold the non-cheesy side of the omelette over the cheesy side, and slip it onto a plate.

YUM. Go make one for yourself, your dad, your mom, your granny, your dog. They will love you forever and always.