Showing posts with label chicken. Show all posts

Thursday, July 28, 2011

Recipe: Hellfire Curry Chicken


Holy smokes, people. I'll warn you right now by letting you know that this recipe is NOT for the faint of heart... or stomach. You should also know that I, myself, am among said faint of heart- this one was pretty much past my spice limit. *hangs my head in shame*. My spice-tolerant mother seemed to certainly enjoy it enough, claiming that the spiciness was right at the top of her tolerance level. Not to say I didn't enjoy it- its just that I was at that stuff-your-face hunger point and the heat was making this more difficult than usual. SO, just know that this recipe is fab if you wanna spice up your life, or your tongue. For those of us who like our Indian food to be a little more American-palette-friendly, I've included modified ingredients for certain components of the recipe. You're welcome.

Ingredients: (Serves 4)
-3 chicken breasts cut up into chunks
-1 red pepper & 1 green pepper cut into slivers
-1/2 a white onion
-14 oz coconut milk*
-6 oz Panang curry paste**
-Spoonful of peanut butter
-cayenne pepper***
-2 tbsp garlic (about 3 cloves)
-2 tbsp chicken stock
-white rice

* I would suggest having some extra on hand; when you taste the curry mixture, add some more in if it's still too spicy
**3-4 oz if less spice is wanted. This type of curry might be harder to find in your average grocery store- I found it at my Central Market in the Asian/International food section. If you can't find this, it's no problem to go ahead and try it with other types of curry paste.
*** Leave out if wanted less spicy

Step 1: Start cooking the rice- or be cool like me and use handy dandy 5 Min rice and wait till the end to cook it!


Step 2: Season the cubed chicken breast with some salt, pepper, and cayenne pepper. Cook in a large (and I mean large... you'll see why) skillet.


Step 3: Move the cooked chicken out of the pan and transfer it somewhere. It doesn't have to be warmed as it will be added into a hot bubbling brew in just a bit.
Step 4: In the same pan, saute the garlic and onion for about a minute. This is when the kitchen really starts smelling delish.
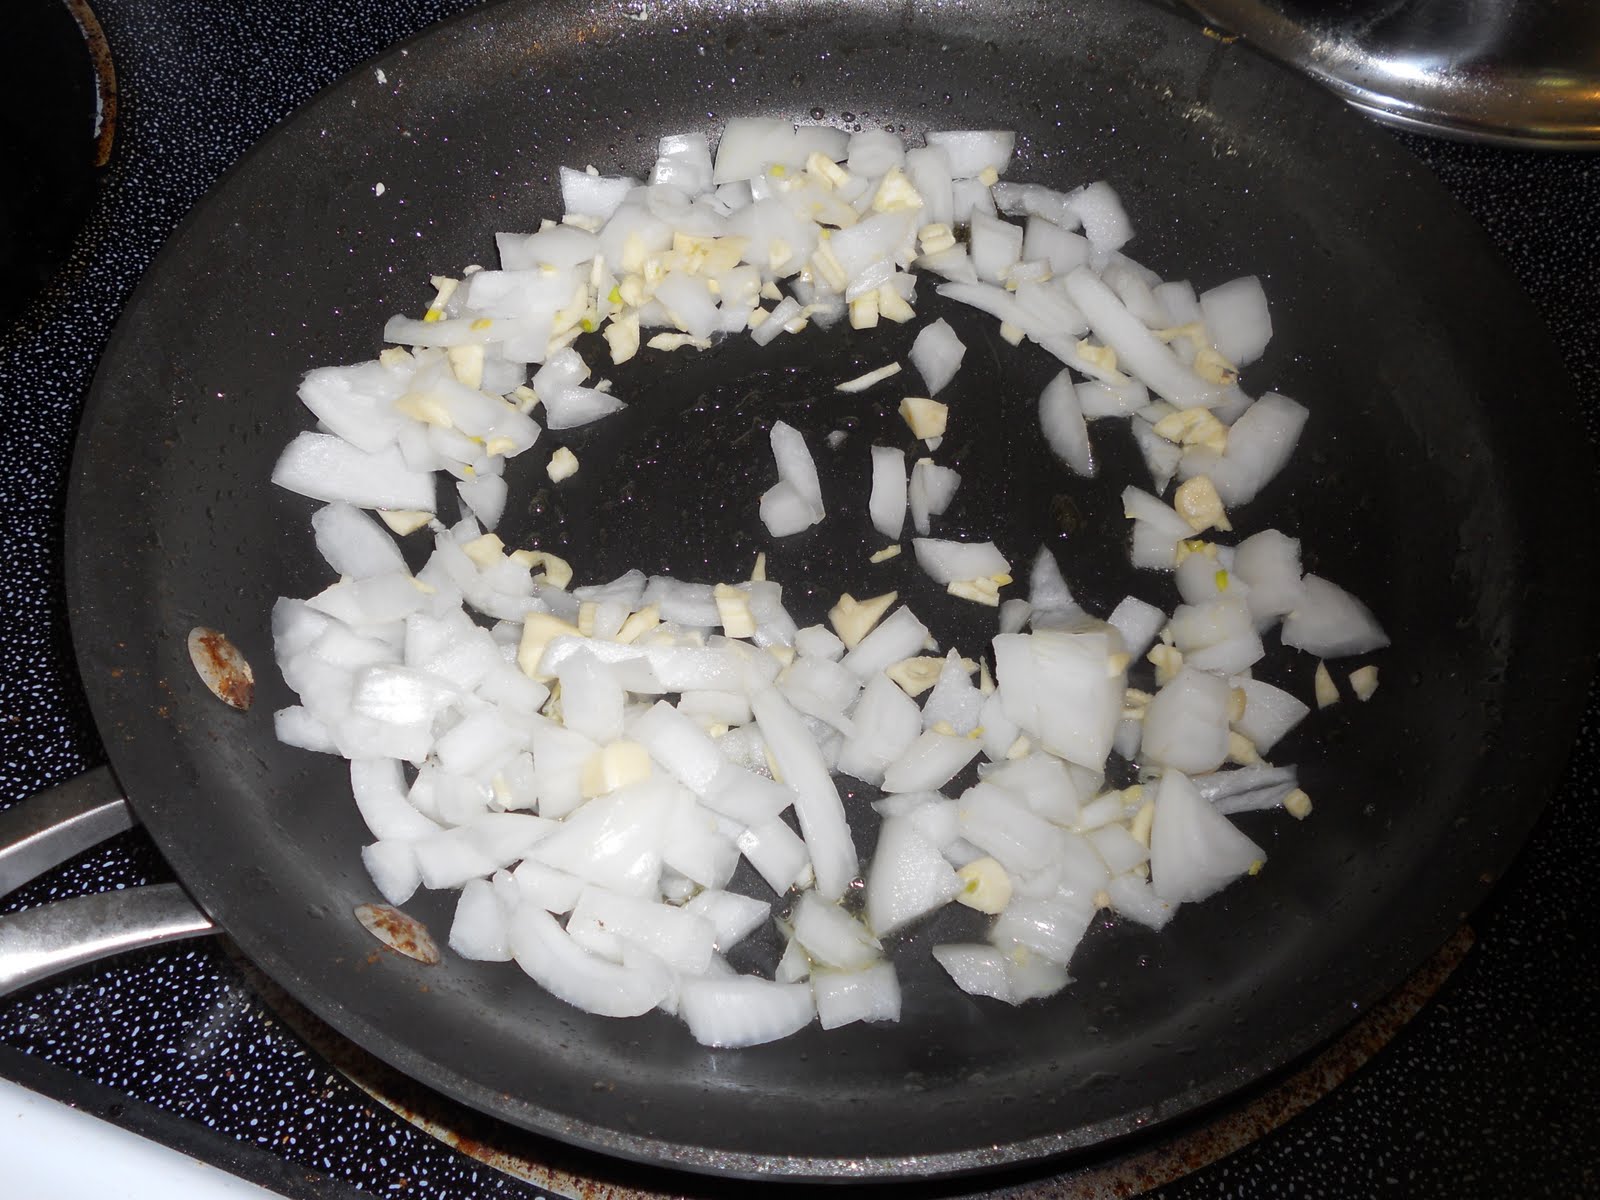
Step 5: Add the curry paste into the pan. This may take a while for the paste to boil down to a liquid, but it helps to stir it consistently for a while.

Step 6: Add half the coconut milk, stir in the peanut butter, put in some cayenne pepper, add in the chicken stock, and then the rest of the coconut milk. This separation of adding the coconut milk is vital for helping even out the amount of spice. This makes it so that you won't take one bite of bland blandiness, then a next bite of pure hellfire.

Step 7: Simmer the bubbly goodness for about a minute. Fiery bubbles of red might pop up in the brew: this is when I started shaking in my boots. But if you went with the spicy version, you asked for it.

Step 8: Fold in the chicken cubes carefully.


This is what Indian food is all about
Step 9: Plate the rice and spoon the curry mixture over the rice for a neat and enticing presentation. OR just scoop it all on lunch-lady style if you couldn't care less about plate presentation. For the sake of pictures, I tried to be neat and tidy. I should mention that I was planning on adding some chickpeas into the curry mix, but after buying the dried, I realized that they should soak overnight so that plan failed. However, if you have access to canned chickpeas or chickpeas that have been soaked, that would be mucho delicioso.
Looks innocent right? THINK AGAIN!
 My stomach was on fire. My brain was on fire. My pinky toe was on fire. BUT it tasted good. So good that I didn't want to stop eating it despite certain body parts protesting against me. I will for sure try this again, just less spicy next time.
Keep the milk at arms reach. Dad is suffering.

Wednesday, July 20, 2011

Original Recipe: Spicy Chicken Tenders!

I found myself being in a very creative mood tonight... so creative in fact that I made up my own recipe! Well.... kind of. Basically I Googled a simple chicken tender recipe and I translated it into a celiac friendly language ("bread crumbs"=leftover corn bread, "white flour"=GF flour, etc...). Oh, and I also made it spiceayyy. (Saying that part in my head sounds much cooler than it looks written out, eh?) I made this deliciousness for myself and my dad who had just come back from a jog, so he pretty much devoured it, calling my creation "very good!". Success! 

Ingredients: (serves: two people or one voracious lion)

-3 boneless and skinless chicken thighs 
-A palmful of GF Flour (Bob's Red Mill is my flour of choice)
-1 egg 
-Anything related to bread crumbs (can be GF breadcrumbs, I used leftover GF corn bread. Whatever floats your boat here, people). About two handfuls of this stuff.
-Red pepper flakes
-Salt/Pepper
-Hot sauce
-Frozen peas (optional)
-Delicious dill pickle (also optional)

Step 1:
Preheat oven to 350 degrees. Defrost the chicken (running it under water helps get the frost off), and start by pounding out your chicken. Please just ignore the fact that I used a beater as a meat pounder. 

Step 2:
Cut the chicken into (ideally) strips. I say "ideally" because real chicken thighs are not physically shaped in a conducive form for cutting into strips. So it is likely that you will end up with a pile of hodgepodge chicken slices. Thats okay. 
I tried.
Step 3:
Assemble your line of flour, egg mixture, and bread crumbs. I did this one by one: the flour needs to be mixed with some pepper flakes- just a couple shakes of that. Mix one egg with a little bit of water, some salt and pepper, and a couple splashes of hot sauce. Crumble up whatever bread you are using (or if you are using ready to use breadcrumbs then, well, yeah..). Now lay all of this out in a line in this order: raw chicken --> flour --> egg wash --> crumbs --> prepared cookie sheet with parchment paper. This is the order of your dipping/coating process. 
Chicken, flour, eggs, crumbs, pan
Step 4:
Using one hand, coat a chicken strip in the flour then dip it in the egg. With your other hand, coat the chicken in the crumbs. I advise you to use this hand-to-hand choreography to avoid excessive messiness all over your hands. Place the chicken strips equally spread on the pan.

Step 5:
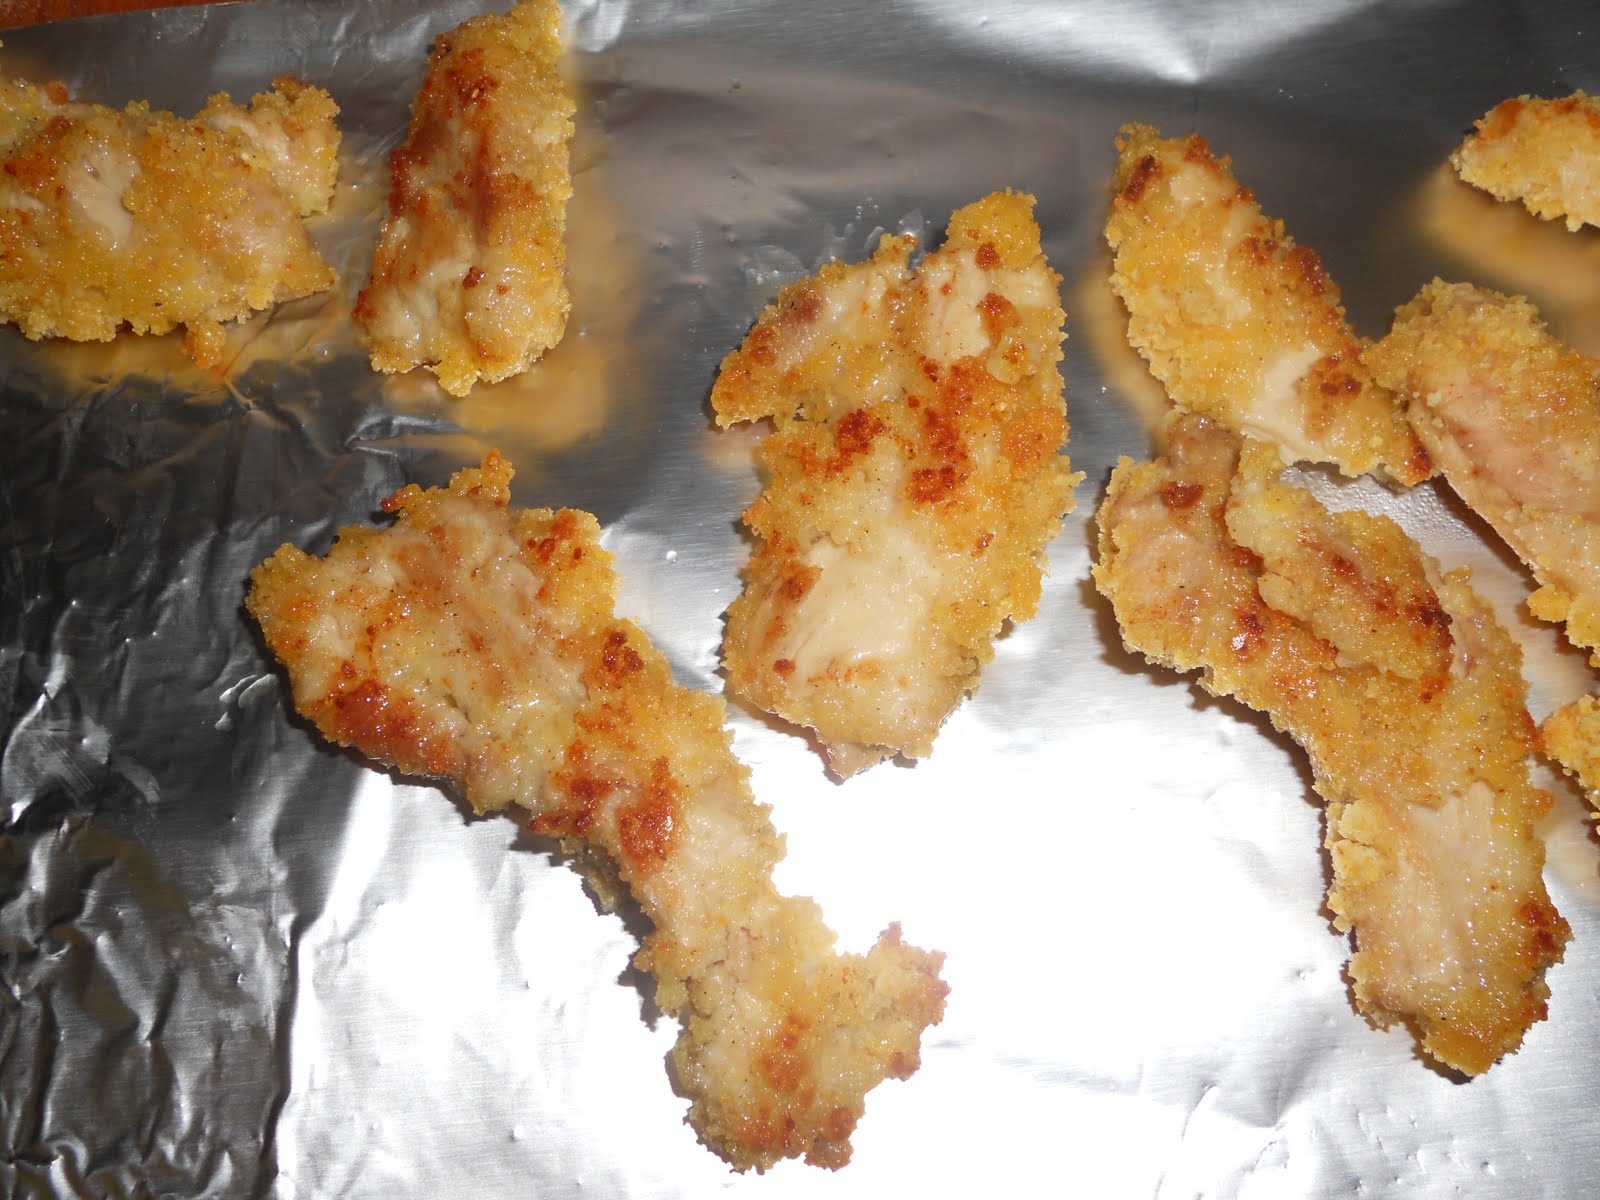
Place the tenders in your 350 degree oven for about 10 minutes. BE SURE TO CHECK THAT THE CHICKEN IS FULLY COOKED. It would be quite the meal spoiler if everyone ended up having salmonella at the end of it. Just sayin'. The tenders should look slightly brown and have a bit of a crisp on the outside. The inside should feel easy to cut and should look completely white. 
After the tenders have baked until cooked, remove them from the oven and flash fry them in olive oil to get that extra crisp you want. Just place each tender in a olive oiled pan for a couple minutes each side over medium heat until they are browned. Remove the tenders and place them on paper towels. (I ran out of said paper towels, so I used aluminum foil.... Idk?)


Step 6
Devour! I chose to pair this little nuggets of lovin' with some peas (seasoned with pepper flakes and salt/pepper) and a dill pickle! Straight out the elementary school cafeteria but of course, better. 

Get in my belly!