
Ingredients: (serves: two people or one voracious lion)
-3 boneless and skinless chicken thighs
-A palmful of GF Flour (Bob's Red Mill is my flour of choice)
-1 egg
-Anything related to bread crumbs (can be GF breadcrumbs, I used leftover GF corn bread. Whatever floats your boat here, people). About two handfuls of this stuff.
-Red pepper flakes
-Salt/Pepper
-Hot sauce
-Frozen peas (optional)
-Delicious dill pickle (also optional)
Step 1:
Preheat oven to 350 degrees. Defrost the chicken (running it under water helps get the frost off), and start by pounding out your chicken. Please just ignore the fact that I used a beater as a meat pounder.

Step 2:
Cut the chicken into (ideally) strips. I say "ideally" because real chicken thighs are not physically shaped in a conducive form for cutting into strips. So it is likely that you will end up with a pile of hodgepodge chicken slices. Thats okay.
 |
| I tried. |
Assemble your line of flour, egg mixture, and bread crumbs. I did this one by one: the flour needs to be mixed with some pepper flakes- just a couple shakes of that. Mix one egg with a little bit of water, some salt and pepper, and a couple splashes of hot sauce. Crumble up whatever bread you are using (or if you are using ready to use breadcrumbs then, well, yeah..). Now lay all of this out in a line in this order: raw chicken --> flour --> egg wash --> crumbs --> prepared cookie sheet with parchment paper. This is the order of your dipping/coating process.
 |
| Chicken, flour, eggs, crumbs, pan |
Using one hand, coat a chicken strip in the flour then dip it in the egg. With your other hand, coat the chicken in the crumbs. I advise you to use this hand-to-hand choreography to avoid excessive messiness all over your hands. Place the chicken strips equally spread on the pan.

Step 5:
Place the tenders in your 350 degree oven for about 10 minutes. BE SURE TO CHECK THAT THE CHICKEN IS FULLY COOKED. It would be quite the meal spoiler if everyone ended up having salmonella at the end of it. Just sayin'. The tenders should look slightly brown and have a bit of a crisp on the outside. The inside should feel easy to cut and should look completely white.
After the tenders have baked until cooked, remove them from the oven and flash fry them in olive oil to get that extra crisp you want. Just place each tender in a olive oiled pan for a couple minutes each side over medium heat until they are browned. Remove the tenders and place them on paper towels. (I ran out of said paper towels, so I used aluminum foil.... Idk?)
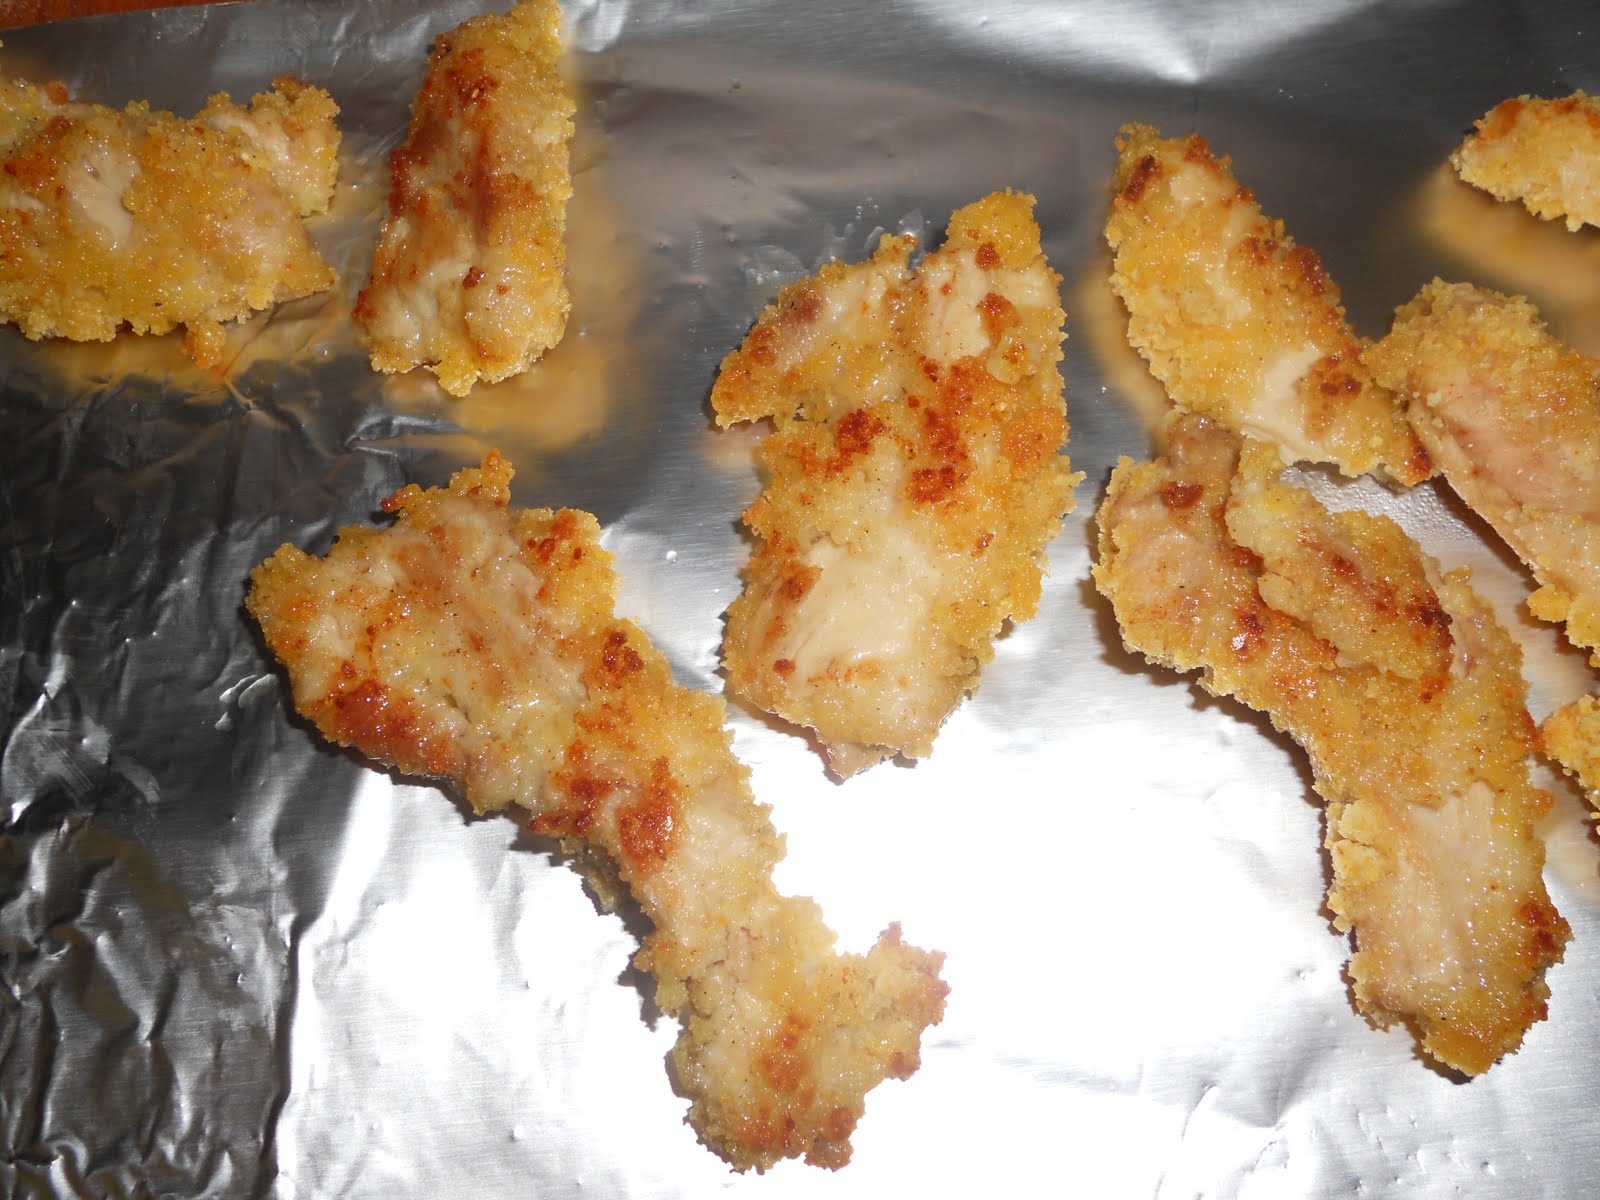
Step 6
Devour! I chose to pair this little nuggets of lovin' with some peas (seasoned with pepper flakes and salt/pepper) and a dill pickle! Straight out the elementary school cafeteria but of course, better.


 |
| Get in my belly! |
No comments:
Post a Comment